How to Set Up Rockspace Mesh WiFi System – Complete Guide
Times are gone when the devices in the home starved for a reliable network. With the advent of wireless internet connection, the equation of the digital realm changed completely. As technology advanced, people started looking for more authentic options to fulfill their wireless internet demands. Keeping that in mind, Rockspace came a step forward and bankrolled various WiFi devices in the market. It is a no-shocker that all the devices by Rockspace perform robustly. But, the Rockspace mesh WiFi system has grabbed many eyeballs. All thanks to its incredible features that allow the user to access a high-speed internet connection in every corner of the house. Want to know more about this wonderful offering by Rock Space? Stick to reading.
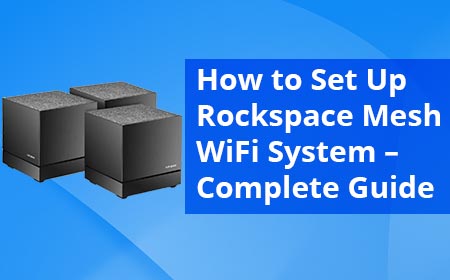
Brief Intro: Rockspace Mesh WiFi System
Let’s start with a brief introduction to the mesh WiFi system by Rockspace. For your information, a Rock Space mesh system consists of three units which are generally called nodes. These nodes combine together to create a single WiFi network and hence the network created with the aid of multiple devices is named the mesh network. Here are some important things that you should know while doing Rockspace mesh WiFi setup:
1. Primary Node: Out of three nodes, the node which connects to your main internet modem is known as the primary node and thereby serves as the router. But, keep in mind that the connection between both devices should be hardwired.
2. Secondary Nodes: Other two nodes, which do not share a direct connection with the main gateway are called secondary nodes. These nodes share a wireless/wired connection with the main [primary] node.
3. RS WiFi App: The RS WiFi mobile application plays a major role in the setup and management of the dual-band mesh network created by the Rockspace mesh WiFi system. Also, it lets the user add or remove a particular node from the home network. Users can get the RS WiFi app downloaded from the App Store/Google Play Store.
How to Setup Rockspace Mesh WiFi System?
The previous section talked about various factors related to the Rock Space mesh system and its setup process. Now, let’s shift our focus to the installation process of the mesh WiFi system.
1. How to do Rockspace Mesh Primary Node Setup?
The Rockspace mesh WiFi setup starts with the installation of the primary node or essential node. Therefore, pick a unit that you receive with the package and select an appropriate location. The location is supposed to be the central area of your house and must be in a clear line of sight with other nodes. Now, connect the primary node’s power adapter to it. After that, power it up and do the following:
- Grab an Ethernet cable.
- Insert one end into the LAN port of the modem and another into that of the chosen node.
- Be sure that your modem is powered on throughout this process.
- If your modem uses a battery, ensure that it is fully charged.
- Now, launch the RS WiFi app and create the Rockspace account.
- Adhere to the on-screen directions to complete the primary node setup.
Hence, the Rockspace mesh WiFi setup for the primary node completes. From now onwards, this node will start behaving as the router since it shares a direct connection with the modem. Now, you need to configure the secondary nodes to finish the mesh WiFi setup process.
2. How to Setup Rockspace Mesh Secondary Nodes?
To configure your secondary nodes, you need to ensure that they are present within the range of the essential or primary node. After that, power them up after connecting their power adapters to working wall sockets. Once done:
- Open the RS WiFi app again.
- Tap the Settings option and select Add Rock Space Mesh.
- Scan the QR code on the back of the node to add.
- If the LED indicator of the node is red, consider relocating it.
3. How to Customize Rockspace Mesh WiFi Settings?
As soon as you’re done adding the primary and secondary nodes to the home network, consider assigning new settings like Rockspace login password to the freshly created mesh network. You can configure the following settings to complete the Rock Space mesh WiFi setup process:
- Network name [SSID] and Network key [WiFi Password]
- Parental Controls
- Guest Network
- Update the Firmware
Final Words
Performing Rockspace mesh WiFi setup is all about upgrading the internet user experience. We hope that the instructions shared above will help you install the mesh system without any hassle. On the off-chance you get stuck during the setup process, contact our tech support executives. They are always on the ball to help users who have done Rockspace extender setup, router setup, or have installed any other Rockspace device in their houses.